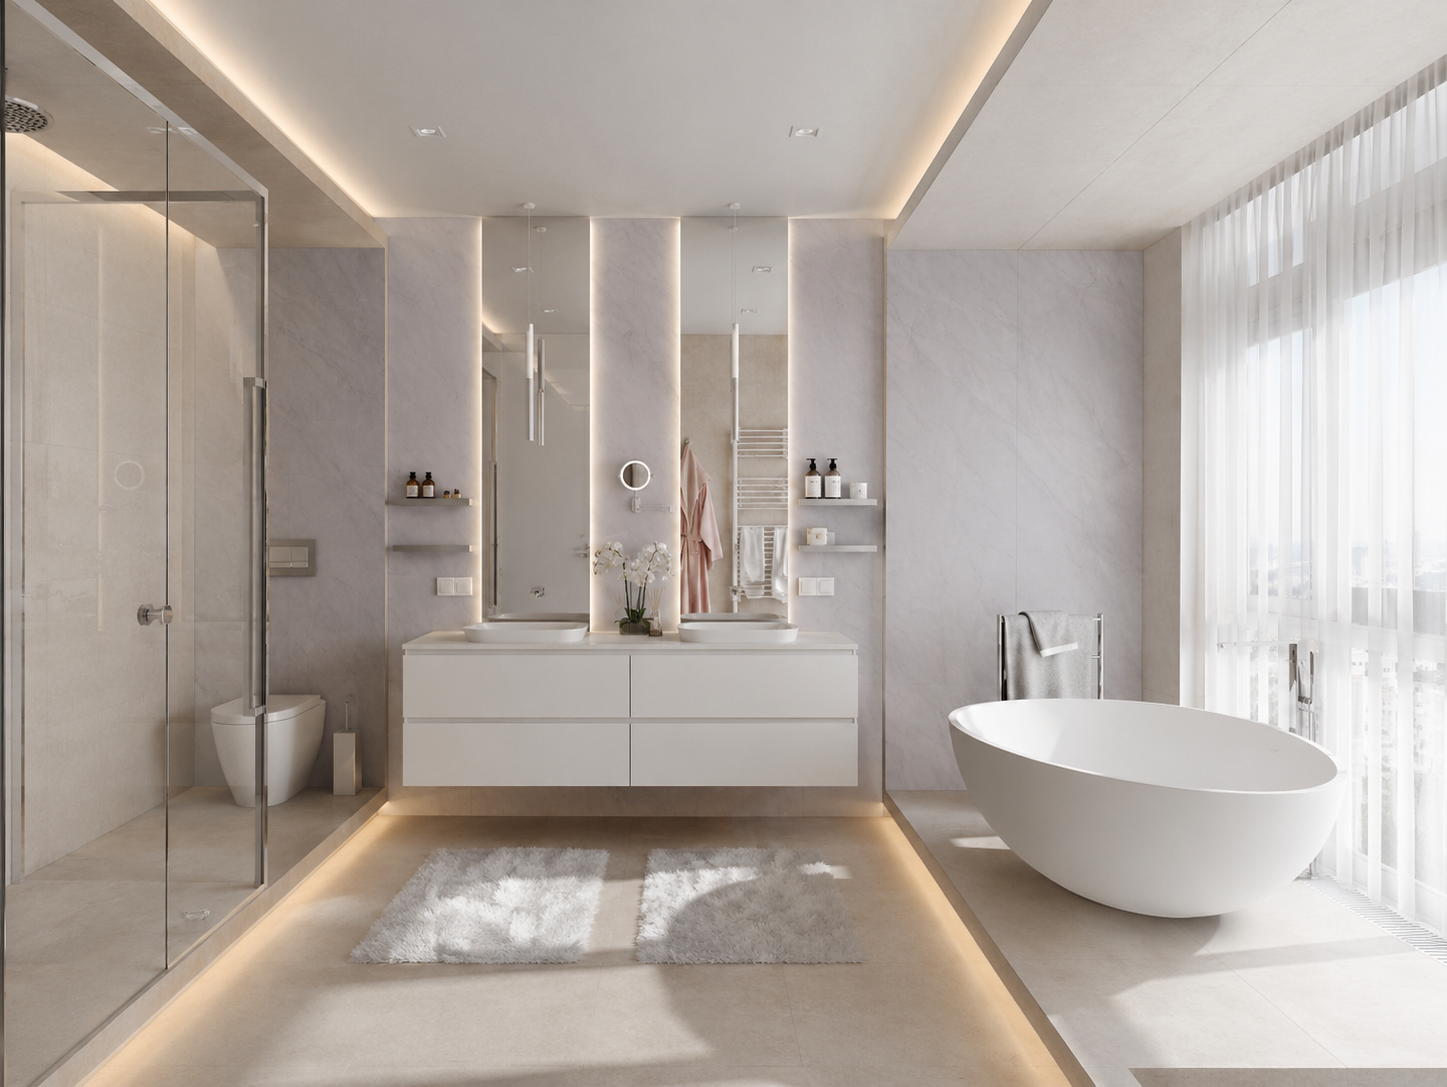
Bathroom panel installation
Install Deco Wall Panels in a weekend—no tiler needed
Watch the installation video below, then follow the step-by-step guide for a confident DIY install.
Installation video
Before you start
What you’ll need (and what to check first)
A great finish comes from good prep. Use this checklist to confirm your walls are ready and you’ve got the right trims, adhesive, and sealant.
Surface check
Walls should be flat, dry, and sound. Remove loose paint, flaking plaster, and any protruding screws. If you’re going over existing tiles, ensure they’re firmly bonded and degreased.
Measure & plan
Measure each wall and plan panel layout to minimize joins. Decide where trims go (internal corners, external corners, end caps) and dry-fit around windows, niches, and fixtures.
Tools & materials
Tape measure, level, pencil, straight edge, fine-tooth saw or suitable cutter, adhesive, silicone sealant, caulking gun, and cleaning wipes for squeeze-out.
Wet-area waterproofing
In showers and wet areas, follow local requirements for waterproofing membranes and substrate preparation. Panels are waterproof, but the system relies on correct sealing at edges and penetrations.
Step-by-step installation
Use these steps as a practical guide. For best results, work from a plumb reference line, keep cuts clean, and seal every edge in wet zones.

1) Set out & mark
Find your starting point, mark a plumb line, and confirm trim positions before any adhesive goes on.
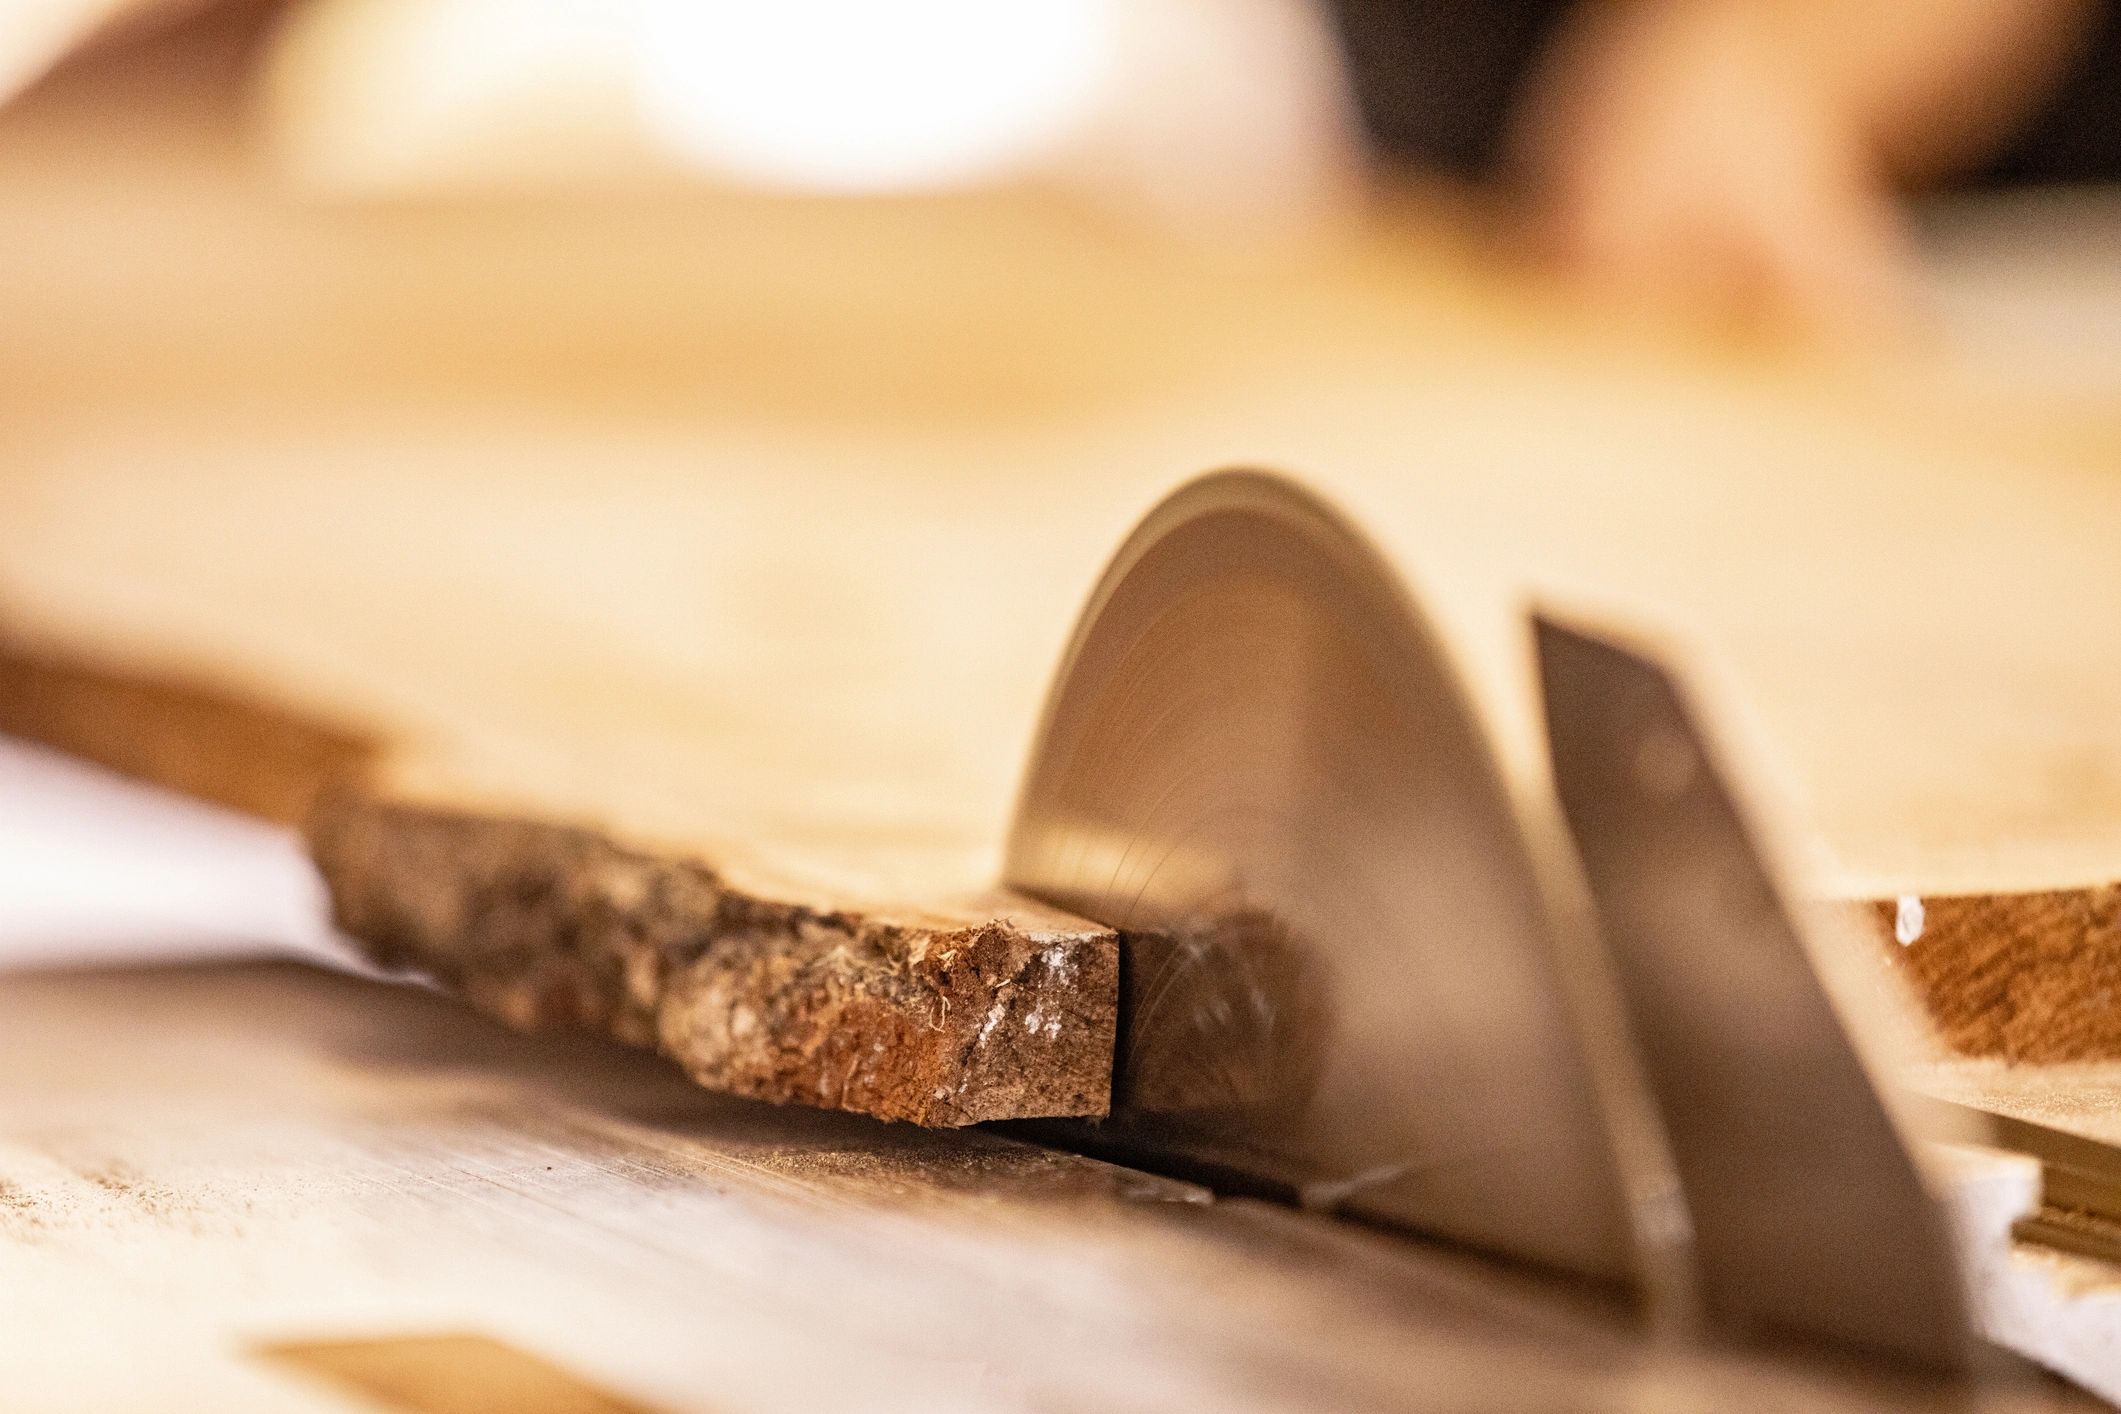
2) Cut panels to size
Measure twice, cut once. Cut-outs for taps and fittings should be neat and slightly oversized for sealant.
3) Apply adhesive
Apply recommended adhesive in vertical beads or a notched pattern (per product instructions) for even bonding.
4) Fix the first panel
Press firmly, check level/plumb, and support as needed while the adhesive grabs.
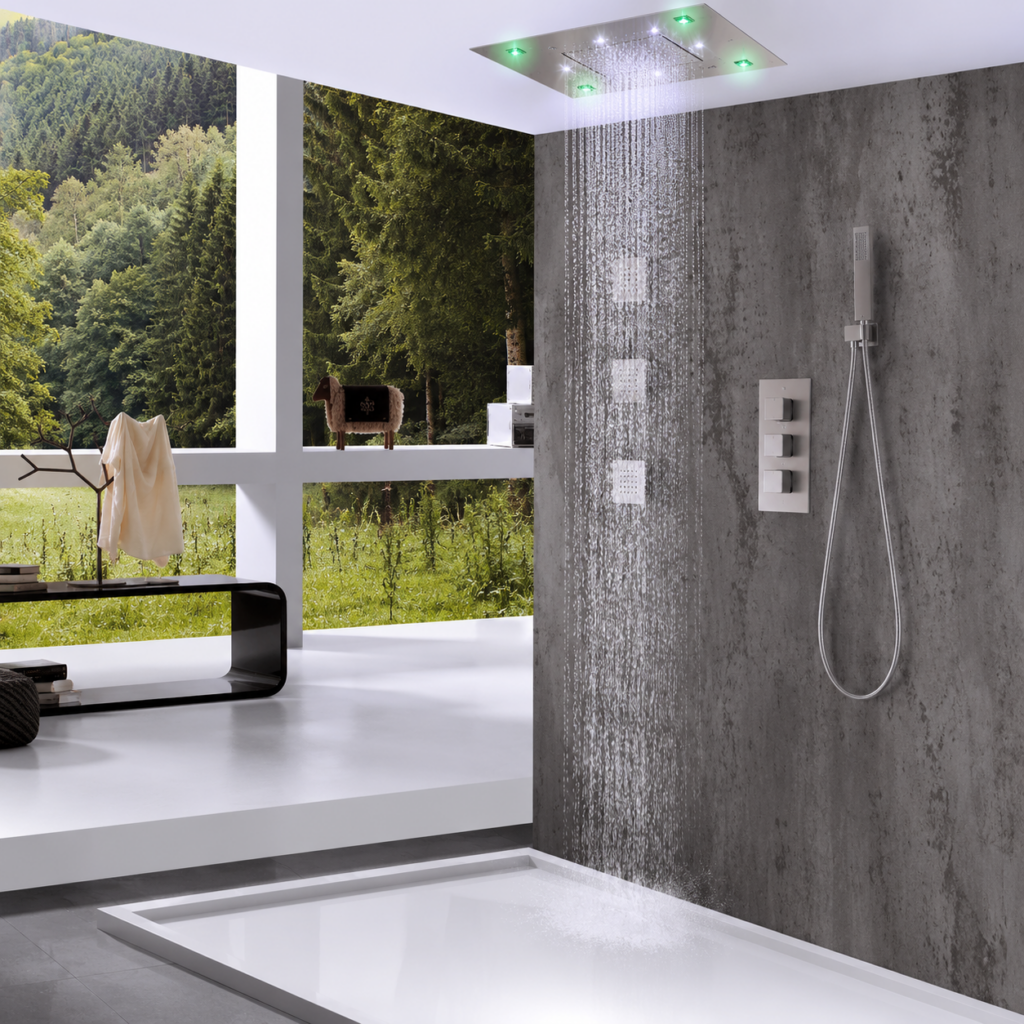
5) Join & trim
Interlock or butt-join as specified. Install corner and end trims as you go for a clean edge.
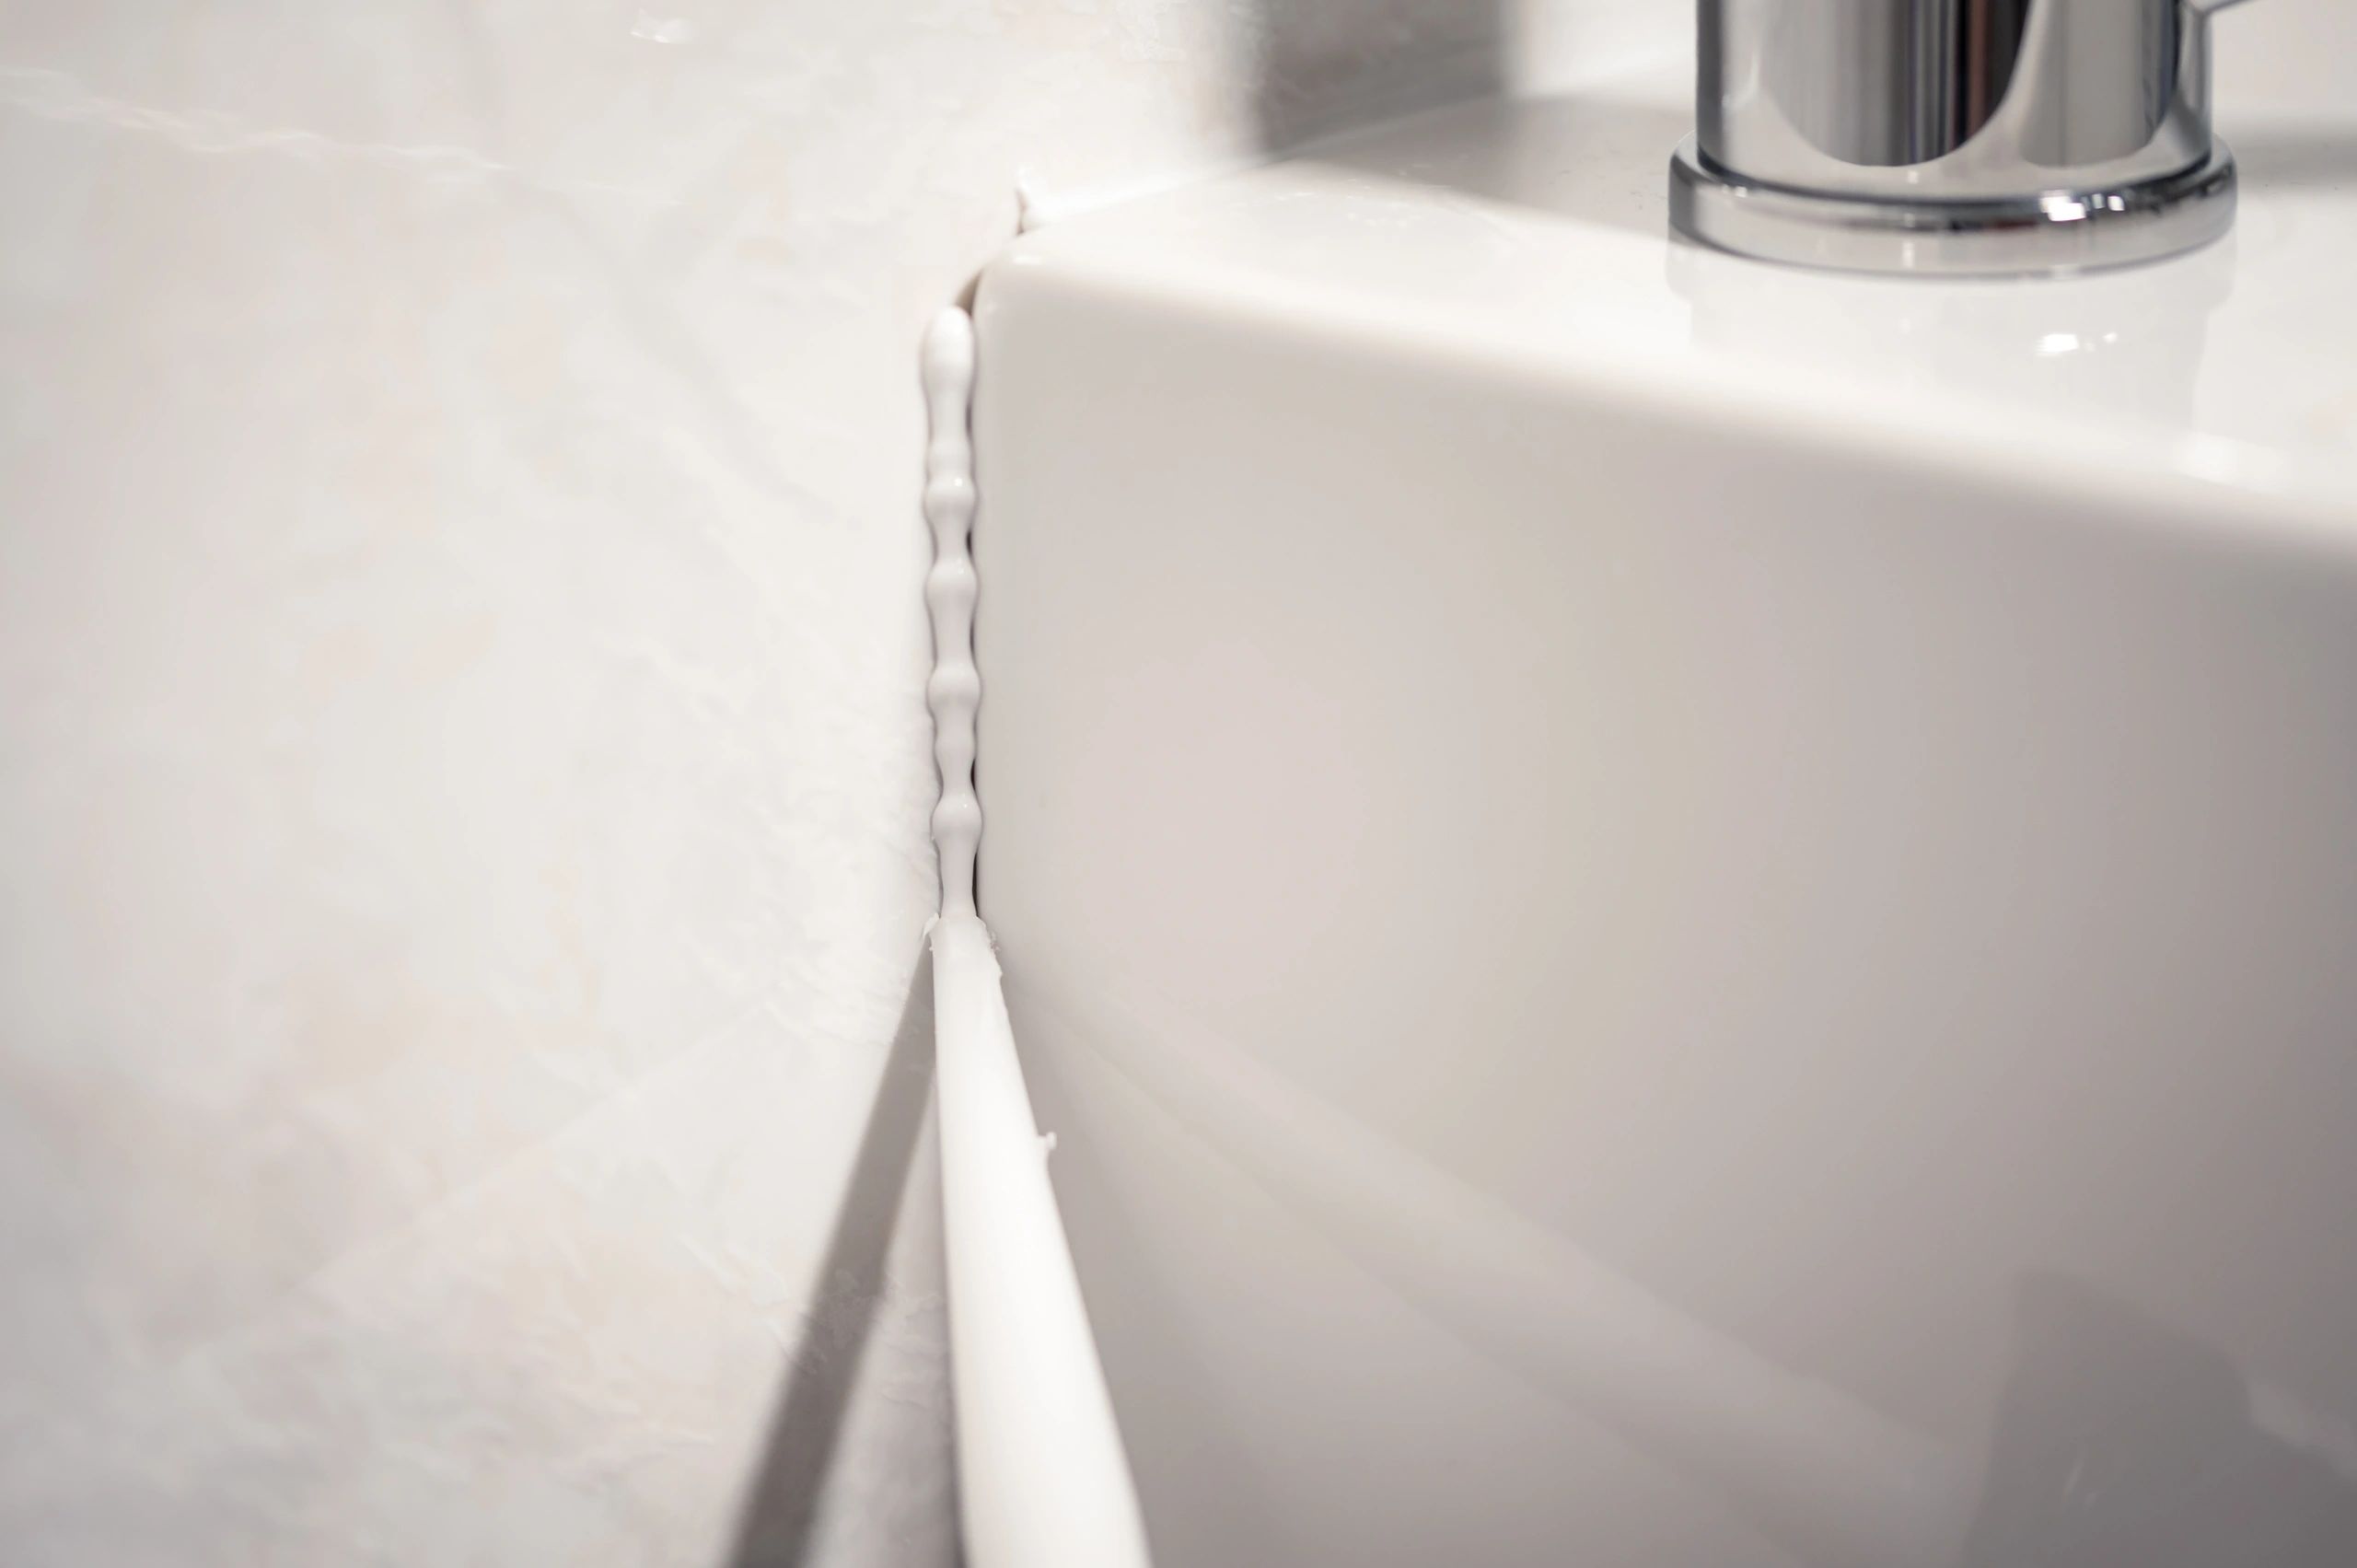
6) Seal for waterproofing
Silicone all perimeter edges, corners, and penetrations. Smooth the bead for a continuous waterproof seal.
Installation FAQs
Quick answers to common questions from DIYers, landlords, and renovators.
Can I install panels over existing tiles?
Often, yes—if tiles are firmly bonded, flat, and thoroughly cleaned/degreased. Any loose tiles should be removed and the surface made even before installing.
Do I need to waterproof behind the panels?
Requirements vary by area and application. In shower/wet zones, follow local waterproofing rules for your substrate. Panels are waterproof, but correct sealing at edges and penetrations is essential.
What adhesive and silicone should I use?
Use the adhesive and neutral-cure silicone recommended for PVC wall cladding and wet areas. If you’re unsure, contact us with your wall type and room details.
How do I cut around taps and fittings?
Mark carefully, drill a starter hole if needed, then cut with the appropriate tool. Leave a small clearance and seal around penetrations with silicone for a watertight finish.
How do I avoid mold and grime at joins?
Keep joins tight, use the correct trims, and run a continuous silicone bead at corners and edges. Unlike grout, panels don’t have porous lines that trap dirt.
How long before I can use the shower?
Follow the adhesive and silicone cure times on the product labels. As a general guide, allow at least 24 hours before heavy water exposure.
Need help choosing trims or quantities?
Get a fast recommendation for your bathroom
Send your wall measurements (and a couple of photos if you can) and we’ll help you choose the right panels, trims, and sealants for a clean, waterproof finish.